Imagine having the control of Alexa without compromising on privacy. With Home Assistant, you can create your very own smart voice assistant, customized to work exactly the way you want, and without being tethered to a large corporation’s servers. In this guide, we’ll explore how to transform Home Assistant into a fully functional voice assistant, similar to Amazon’s Alexa or Google Assistant. Whether you’re looking for more privacy, customizability, or just a fun DIY project, this guide will take you through everything you need to know.
Benefits of a DIY Voice Assistant:
- Privacy: You have complete control over your data.
- Customizability: Personalized commands and automations that fit your lifestyle.
- Cost Efficiency: No need for expensive branded devices.
Ready to jump in? Let’s see what you’ll need.

Setting Up Home Assistant for Voice Commands
Hardware Requirements
To start building your voice assistant with Home Assistant, you’ll need the following hardware:
- Microphone and Speakers: A basic USB microphone and speaker system will work. You can also use a more specialized microphone if you have one.
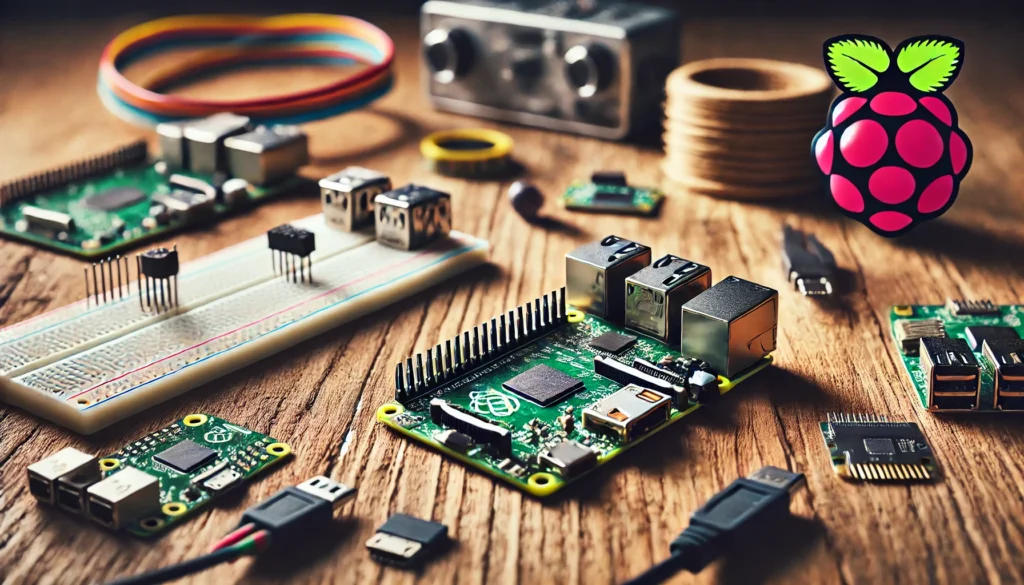
- Raspberry Pi or Home Assistant-Compatible Server: Home Assistant needs a device to run on. A Raspberry Pi 4 is a common, cost-effective option. Alternatively, you can use a mini PC or install it on an old laptop.
Software Installation and Setup
- Install Home Assistant: To begin, you need to install Home Assistant on your device. If you’re using a Raspberry Pi, download the Home Assistant Operating System image from their website and flash it to your SD card. For more information on setting up Home Assistant with Raspberry Pi, check out our detailed guide on Running Home Assistant on a Raspberry Pi for Seamless Automation.
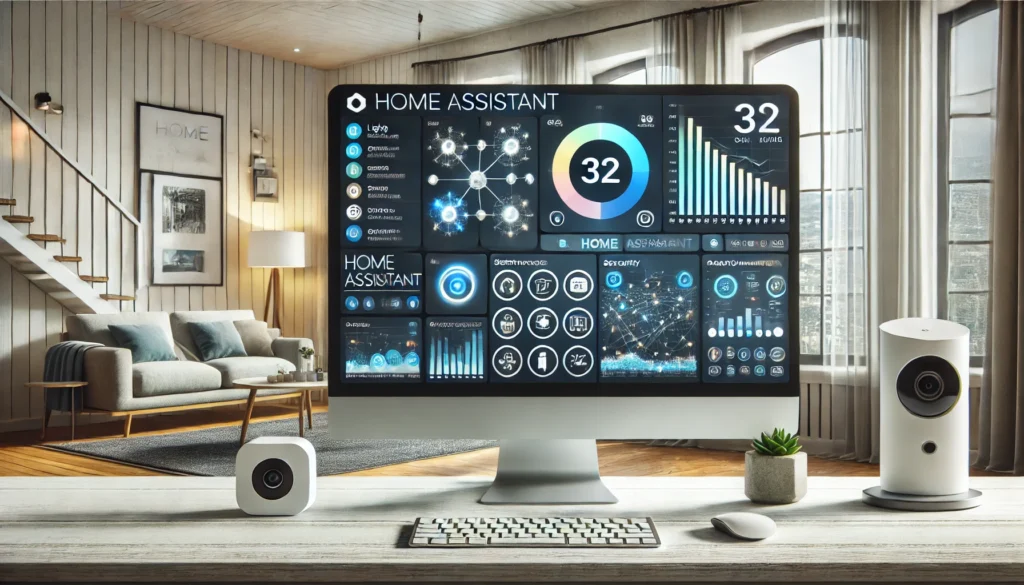
- First-Time Setup: Boot your Raspberry Pi and access the Home Assistant web interface via your web browser. Complete the initial setup by creating an account and linking your local devices.
Choosing the Voice Interface: Rhasspy or Ada
One of the best features of Home Assistant is its compatibility with open-source voice control tools. If you’re interested in comparing how Home Assistant stacks up against other smart home platforms, be sure to read our Home Assistant vs. Other Smart Home Platforms: A Friendly Comparison. Let’s take a closer look.
Rhasspy: Flexible, Open-Source Voice Assistant
- Installation: Rhasspy can be added as a Home Assistant add-on. It’s highly customizable and works offline, keeping everything on your local network.
- Integration with Home Assistant: Once Rhasspy is installed, you can configure it to understand various wake words and intents. For example, you can set Rhasspy to react to phrases like, “Turn off the living room lights.”
Ada: Lightweight Voice Assistant
- Ada, available via ESPHome, is a simpler solution for voice recognition. While it may not be as feature-rich as Rhasspy, it can handle basic commands and is ideal if you want something lightweight.
- Setting Up Ada: Install the ESPHome add-on and configure Ada to work with a microphone and speaker connected to your Home Assistant server.
Configuring Wake Words and Voice Commands
Defining a Wake Word
A wake word is a phrase used to activate your assistant. Rhasspy allows you to define custom wake words like “Hey Homey,” or something quirky like “Okay, Batcave!” Here’s how you set it up:
- Go to Rhasspy Settings: Navigate to the wake word settings and type in the word or phrase you want to use.
- Testing Wake Word: Practice activating your assistant to ensure it consistently responds to your chosen wake word.
Creating Custom Voice Commands
Now that the wake word is set, it’s time to create custom commands:
- Link Commands to Automations: In Home Assistant, go to Automations and link the Rhasspy intents to the automation you want. For example, “Turn on bedroom light” could be linked to the specific light entity.
- Useful Commands: Commands can include tasks like adjusting the thermostat, controlling music, or activating scenes (e.g., Movie Night).

Integration with Smart Home Devices
One of the key strengths of Home Assistant is its ability to seamlessly integrate with a wide variety of smart home devices. Whether it’s smart plugs, light bulbs, or thermostats, Home Assistant can handle it all.
Connecting Devices and Services
- Philips Hue and Smart Plugs: Add your devices to Home Assistant through Integrations. For example, link Philips Hue lights by selecting “Hue” from the integrations and following the steps. If you’re interested in how to best configure these integrations, check out our Home Assistant Configuration Tips, Tricks, and User Stories.
- Third-Party Services: You can also integrate streaming services like Spotify or even weather information. These integrations allow you to use commands like “Play my chill playlist” or “What’s the weather like today?”


Controlling Devices via Voice Commands
Once you’ve added your devices, you can create automations that trigger them via voice. Example scenarios include:
- Lighting Control: “Turn on the kitchen lights” or “Dim the living room lights to 30%.”
- Climate Control: Commands like “Set the thermostat to 72 degrees” make managing comfort effortless.
Troubleshooting Integration Issues: Sometimes integrations may not work as intended. A common fix is to check the Home Assistant logs for any error messages and reconfigure the problematic devices.
Enhancing Your Voice Assistant with Automations
Using Voice Commands to Trigger Complex Automations
Automations are where Home Assistant shines. You can create routines that activate several devices at once.
- Setting Up Morning Routines: A command like “Good morning” can trigger an automation that turns on lights, starts a coffee maker, and reads out today’s schedule. For more ideas on automations that can transform your daily life, take a look at our Ultimate 10 Home Assistant Automations to Transform Your Life.
- Custom Automations for Special Events: “Movie Night Mode” could lower the blinds, dim the lights, and turn on the TV, all with a single command.
Scripting Personalized Responses
Want to add some personality? You can customize how Home Assistant responds to your commands:
- Adding Humor: Use Text-to-Speech (TTS) to create amusing responses, like “Turning on the lights, and may the force be with you.”
- Personal Touches: Make the assistant use your name or unique greetings to give it a personal touch.
Addressing Privacy Concerns
Privacy is a significant concern when using voice assistants. Home Assistant offers a more secure and private alternative.
Home Assistant vs. Alexa: Privacy Features Compared
- Data Control: Unlike Alexa, which stores user data on Amazon servers, Home Assistant keeps your data on your local network, giving you complete control. For a deeper dive into the privacy aspects of smart home technologies, check out our article on Understanding the Privacy Concerns Surrounding Smart Home Technology.

Managing Local Voice Processing with Rhasspy/Ada
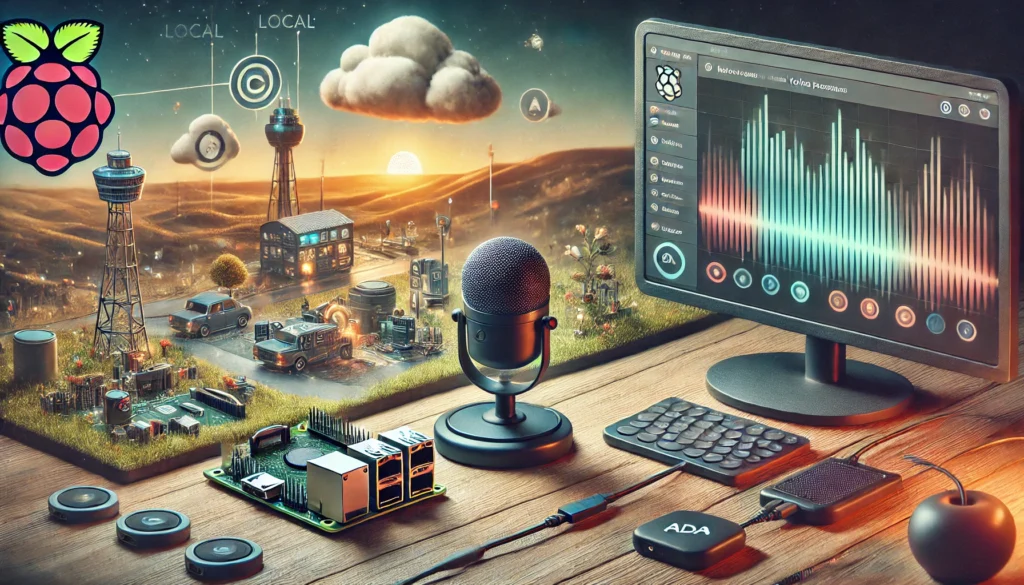
Both Rhasspy and Ada are designed for local processing. This means your voice commands never leave your home network, eliminating the risk of eavesdropping or unwanted data collection.
Ensuring No Data is Sent to the Cloud
To maximize privacy, ensure that all integrations and add-ons are configured to work locally, with no connection to external servers. Use tools like AdGuard Home to block any outgoing traffic that isn’t explicitly allowed.
Conclusion and Next Steps
Creating your own voice assistant with Home Assistant isn’t just a way to take control of your smart home—it’s an exciting DIY project that offers endless customizability and true privacy. From setting up the hardware and choosing between voice interfaces like Rhasspy or Ada, to configuring custom wake words and commands, you now have everything you need to transform Home Assistant into a voice assistant that rivals Alexa or Google Assistant.
Possible Expansions
- Multi-Room Voice Assistants: Consider expanding to multiple rooms by adding microphones and speakers throughout your home, creating a seamless experience.
- More Complex Automations: Dive into the world of advanced scripting in Home Assistant to create sophisticated automation scenarios.
Ready to take control of your smart home without big tech listening in? Start building your personalized voice assistant today with Home Assistant!


